If your iPad is running a bit slower than usual or apps seem to freeze up, it might be time to clear the cache. Cache files, which store temporary data from websites and apps, can pile up over time and slow things down. Luckily, clearing the cache on your iPad is easy, and it can make a big difference in performance.
In this guide, we’ll show you exactly how to clear cache on your iPad, help you understand why it’s important, and explain the benefits of doing so.
Why Should You Clear Cache on Your iPad?
Clearing your iPad’s cache is a quick way to improve its speed and responsiveness. Over time, cache data can build up and cause your device to slow down. By clearing the cache, you can fix issues like apps not loading properly, free up storage space, and improve overall performance. Let’s explore why it’s worth making this a regular habit.
Boost Device Performance
When your iPad’s cache becomes too full, it can slow down the device. This happens because your iPad is trying to load outdated data. By clearing the cache, you're essentially giving your device a fresh start, which can improve speed and responsiveness. It’s a simple fix that can make a noticeable difference.
Fix Issues with Apps and Websites
Have you ever noticed apps freezing or websites taking forever to load? That could be a sign that your iPad's cache is clogged. Old or corrupted cache files can interfere with app performance and make everything run slower. Clearing the cache can often resolve these glitches and get things running smoothly again.
Free Up Storage Space
Cache files can take up a surprising amount of storage over time. For instance, social media apps like Facebook or Instagram can store large amounts of data in their cache. Clearing your cache frees up space for more important things—like photos, apps, or even new updates. It’s a great way to manage your iPad's storage without needing to delete anything essential.

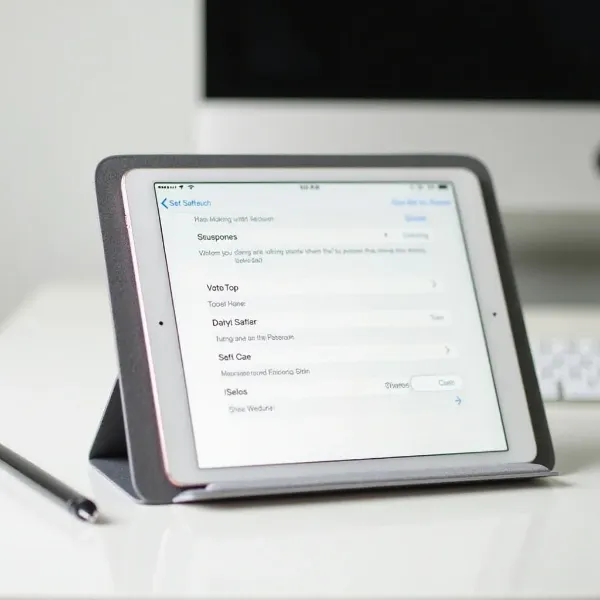
How to Clear Safari Cache on iPad
Safari is the default browser on your iPad, and it stores a lot of data in its cache. If you’re noticing slow loading times or other issues with Safari, clearing the cache is an easy fix. Here are two simple methods for clearing Safari’s cache.
Method 1: Clear History, Cache & Cookies (Quick and Easy)
This method will clear everything—your browsing history, cache, and cookies. It’s quick and easy, and it can help speed up Safari.
- Open the Settings app on your iPad.
- Scroll down and tap Safari.
- Under the Privacy & Security section, tap Clear History and Website Data.
- Confirm by tapping Clear History and Data.
This will delete all your browsing history and cache, giving Safari a fresh start.
Method 2: Clear Only Data (Keep History)
If you don’t want to lose your browsing history but still want to clear the cache, this method is for you.
- Open Settings and tap Safari.
- Scroll down and tap Advanced.
- Select Website Data.
- Tap Remove All Website Data.
This clears your cache and cookies but keeps your browsing history intact, so you don’t have to start over from scratch.
How to Clear Cache for Specific Apps on iPad
Some apps, like Facebook or Instagram, store data in their own caches, and this can cause the apps to slow down or crash. Here’s how you can clear cache for specific apps on your iPad.
Clearing Cache in Facebook
Facebook tends to store a lot of data in its cache, which can lead to sluggish performance. Here’s how to clear it:
- Open the Facebook app.
- Tap the three horizontal lines at the bottom-right corner to open the menu.
- Scroll down and tap Settings & Privacy, then select Settings.
- Under Media and Contacts, tap Browser.
- Tap Clear Data to delete the cache and cookies.
This simple step can help improve the performance of Facebook on your iPad.
How to Clear Cache in Other Apps
For apps like Instagram, YouTube, or Spotify, you might not see an option to clear cache directly. However, you can still remove unnecessary data by following these steps:
- Go to Settings and tap General.
- Tap iPad Storage.
- Find the app you want to clear cache for, such as Instagram or YouTube.
- Tap on the app and select Offload App. This will remove the app’s data but keep your documents and settings intact.
- Reinstall the app to remove cached files without losing any important information.
This approach works for most apps that don’t have a direct option to clear cache.

Alternative Ways to Clear Cache on iPad
If you’re looking for other ways to manage your iPad’s cache, here are a couple of alternatives.
Use Third-Party Apps for Cache Management
There are several third-party apps that can help you clean up your iPad and manage cached files. Apps like PhoneClean and iMyFone Umate are designed to remove junk files, including cache, without affecting your important data. These tools give you more control over what you delete and help free up space more efficiently.
- Download and install a third-party cache-cleaning app.
- Open the app and let it scan your iPad for junk files.
- Select the cache files you want to delete.
- Confirm the deletion to clear the cache and free up space.
These apps are a great choice if you want to get more out of your iPad’s storage.
Reset All Settings
If nothing else works and you’re still having issues with your iPad, you can reset all settings. This will clear out system-level caches but won't delete your apps or data.
- Open Settings on your iPad.
- Tap General, then Reset.
- Select Reset All Settings and confirm.
This will reset your preferences and clear out any lingering cache files that might be causing issues.
Conclusion
Clearing the cache on your iPad is an easy and effective way to keep your device running smoothly. Whether you’re dealing with slow performance, app glitches, or a lack of storage space, clearing the cache can make a big difference. With the methods outlined in this guide, you can easily free up space, improve speed, and fix issues with your iPad. Make it a regular habit to clear the cache, and your device will thank you for it!
If you want to know more about clearing app cache on your iPhone, check out our guide on how to clear app cache on iPhone.
And for those wondering about how to factory reset their iPad, we’ve also got a helpful guide on how to factory reset an iPad without a password.